Ruuvi Station is available for Android 5.0 and iOS 14 or newer compatible mobile devices. Ruuvi Station is also available as browser-based web application.
Log in to Ruuvi Station web application at:
https://ruuvi.com/station
Download the Ruuvi Station mobile app from the Play Store or the App Store:
Ruuvi Station Android
Ruuvi Station iOS
Before starting with Ruuvi Station app
Ruuvi Station communicates with your Ruuvi sensors by either collecting the local sensor data using Bluetooth wireless connection available on your mobile device or by synchronising the sensor data to and from Ruuvi Cloud service when collecting local or remote sensor data using Ruuvi Gateway router.
Your Ruuvi sensor will have the ability to communicate with Ruuvi Station as soon as it’s out of the box! Make sure that your Ruuvi sensor is powered, within a reasonable distance from your mobile device or Ruuvi Gateway router and not blocked by physical barriers which typically obstruct or interfere with wireless signals. Quick Start guide for the Ruuvi Sensors can be found here.
If you are using Ruuvi Station with a Ruuvi Gateway router, make sure that it’s powered, connected to the internet and configured to send data to Ruuvi Cloud before continuing. Quick Start guide for Ruuvi Gateway router can be found here.
Ruuvi Station Welcome Tour (mobile)
When launching Ruuvi Station mobile app for the first time, our app will give you a short tour showing you what you can do with it. This tour will be shown only on the first launch or when updating to the next major version of the app. If Ruuvi Station app data is cleared, this tour will be presented again.
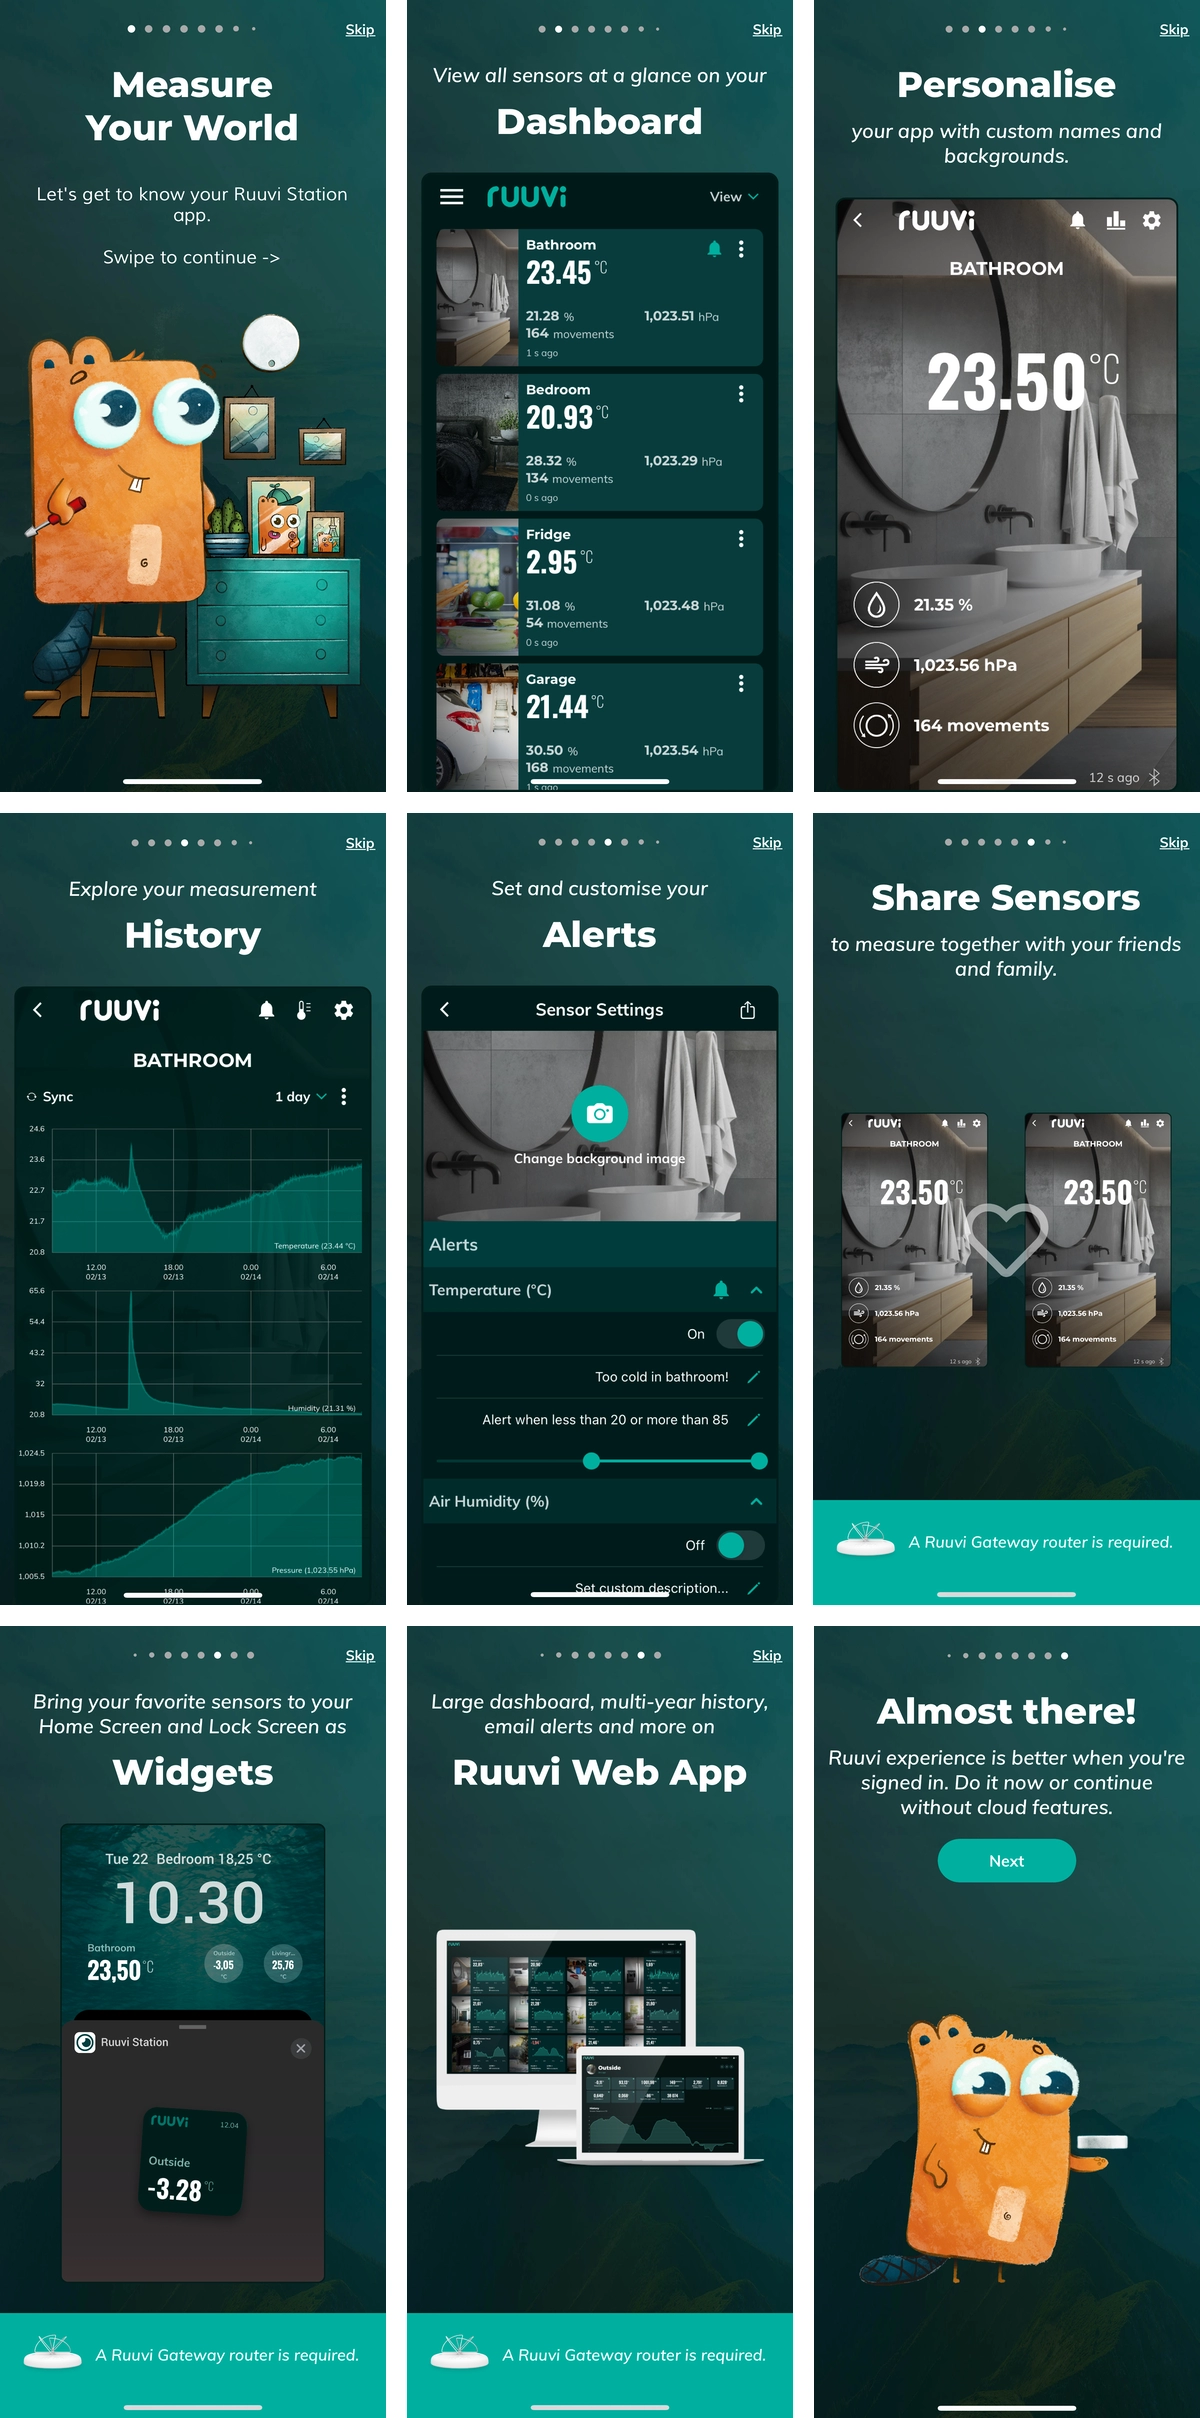
On the last page of the tour you will be shown either:
“Almost there!”,
With instructions to Create a new Ruuvi account or sign in to an existing account. Choosing Next you will be forwarded to Sign in.
“Let’s get started!”,
When you are updating the app from a previous version and you are already signed in to the app. Choosing Next you will be moved to Dashboard view.
Onboarding: Create a Ruuvi account / Sign in to your Ruuvi account
Signing into a Ruuvi account is an essential part of your Ruuvi experience. Creating a Ruuvi account is free. Some features available on your account depend on your Ruuvi Cloud subscription plan. Creating an account is not mandatory but it’s recommended.
Read more about creating a Ruuvi account and signing in to your Ruuvi account here.
Onboarding: App Permissions (mobile)
Ruuvi Station will ask for a few permissions when launched for the first time and will require these permissions during use as well.
Details about required app permissions can be found here.
Add a New Sensor in Ruuvi Station
New Ruuvi sensors can be added to Ruuvi Station in both Ruuvi Station mobile and Ruuvi Station web applications.
Read more about adding a new sensor in Ruuvi Station here.
Add a New Sensor: Add a New Sensor using near-field communication (NFC)(mobile)
Users who have a mobile device with near-field communication (NFC) feature can scan Ruuvi sensors with NFC to add them to the Ruuvi Station app or show additional information regarding their Ruuvi sensor.
Learn how to add a new a new sensor to your Ruuvi Station mobile app using NFC here.
Add a New Sensor: Add a New Sensor in Ruuvi Station web app by MAC address (web)
In Ruuvi Station web application, you will be able to add new sensor using a MAC-address. This feature is only available in Ruuvi Station web.
Learn more about adding a new sensor in Ruuvi Station by MAC address here.
App Settings in Ruuvi Station
App Settings in Ruuvi Station allows you to set global settings and general features used in the app. Some settings are specific for Ruuvi Station mobile app.
Learn how modifying these global app settings can improve your Ruuvi Station experience here.
App Settings: Language
Ruuvi Station is currently fully translated to English, German, French, Swedish and Finnish.
Choose the most suitable language for your environment here.
App Settings: Alert Notifications (mobile)
Alert Notification settings allow you to manage how alert notifications behave on your mobile device. These include app sound settings and notification specific settings.
Adjust your mobile Alert Notifications to suit your preference here.
App Settings: Appearance
Make Ruuvi Station easy on the eye with dark or light theme.
More information on Appearance settings can be found here.
App Settings: Background Scanning (mobile)
When this setting is enabled, Ruuvi Station mobile apps can be minimised and collect measurement data from Ruuvi sensors while in background.
Learn more about benefits of using Background Scanning here.
App Settings: Measurement Units
Measurement Units and their Resolution in App Settings affect all the measurements shown in the app, and when exporting measurement data from the app.
Learn how to choose your preferred Measurement Unit and Resolution here.
App Settings: Ruuvi Cloud (mobile)
Build a fully featured remote monitoring solution using Ruuvi Gateway. When your Ruuvi Gateway is being used together with Ruuvi Cloud you are able to sync high resolution measurement data collected from Ruuvi Sensors to Ruuvi Station mobile app. With this setting you are able to control which data source should be used to record measurement data to your app.
Learn more about this feature here.
App Settings: Chart Settings (mobile)
Adjust the history view in your Ruuvi Station mobile app to the data resolution that fits your needs and improve the app performance on older mobile devices.
More information about Chart Settings can be found here.
App Settings: Data Forwarding (mobile)
Data Forwarding feature on Ruuvi Station Android allows you to send collected measurement data to a server by using HTTP POST. This feature is intended for power users and can make Ruuvi Station app act as a temporary gateway.
Learn more about this advanced feature here.
Sensor Settings in Ruuvi Station
Every individual sensor in Ruuvi Station can be customised through Sensor Settings.
Learn how to Rename sensors, set an unique background for your sensor, claim and share your sensors in Ruuvi Cloud, customise and set alerts, fine-tune your sensors with offset correction and update your sensor firmware here.
Sensor Settings: Background Image
Personalised background images make Ruuvi Station colourful. Customise your sensor cards with unique background images that can be uploaded from your device, or take a new photo in Ruuvi Station mobile app and sync it to your devices using Ruuvi Cloud.
More information can be found here.
Sensor Settings: Name
Every Ruuvi sensor has a default name when first added to Ruuvi Station. Make your sensors reflect their use better by renaming them in Sensor Settings.
Details about naming your sensors are available here.
Sensor Settings: Sensor ownership
Ruuvi Cloud enables you to do magical things with your Ruuvi sensors. Claim your sensor ownership in Ruuvi Cloud to access these advanced features.
Learn more about sensor ownership in Ruuvi Cloud here.
Sensor Settings: Sharing your Ruuvi sensor
Ruuvi Gateway owners can share sensors with friends and family using Ruuvi Cloud. Shared sensors will also have same advanced features available to them as on their owner’s account, so your friends and family can enjoy viewing them the same way you do.
Read more about sensor sharing here.
Sensor Settings: Owner’s Ruuvi Plan
When a sensor was shared to you through Ruuvi Cloud this field allows you to see the sensor owner’s Ruuvi Cloud plan. Shared sensors share the same features as available on their owner’s account.
Details about this field are available here.
Sensor Settings: Bluetooth connection (mobile)
This feature is exclusive to Ruuvi Station mobile app on iOS. When enabled, Ruuvi Station iOS users can enjoy Bluetooth alerts and measurement data collection from Ruuvi sensors when the app is minimised and running in the background.
To enable this feature and to enjoy alerts from local Bluetooth sensors and background scanning on your iOS device, check here.
Sensor Settings: Alerts
Get notified with an alert when your sensor reports a reading that is outside set limits. Ruuvi Gateway users with advanced Ruuvi Cloud plans enjoy ability to receive alerts also via mobile Push notifications and to their email inbox.
Details related to alerts and alert features can be found here.
Sensor Settings: Offset correction
Setting an offset for your sensor can be useful in some special cases or if your sensor is reporting a reading that is not matching the expectation.
Learn to calibrate your sensor here.
Sensor Settings: Alert Delay
This is an advanced feature available for Ruuvi Gateway users with Ruuvi Cloud Business Starter plan or higher. Setting an Alert Delay can help you in situations, when you don’t want an alert to get triggered before specific time has passed. Read more about Alert Delay here.
Sensor Settings: More info
Additional information related to your sensor is displayed in this section including data format, acceleration information and measurement number.
Details about the more info section under Sensor Settings can be found here.
Sensor Settings: Firmware (mobile)
It’s important to keep your Ruuvi sensor firmware up-to-date.
Check your current firmware version and update it by following the on-screen instructions here.
Sensor Settings: Remove this sensor
Remove any sensor from your Ruuvi Station app by following these instructions here.
History view in Ruuvi Station
One of the great features of Ruuvi Station is the ability to delve into your sensor measurement history on History View. On this detailed view you are able to see all the important information about your measurement data at a glance and much more.
Check the details here.
History view: Scan Interval In Ruuvi Station (mobile)
Ruuvi Station uses different intervals in different modes of operation.
Detailed information about how Ruuvi Station collects your measurement data and how it affects available sensor history can be found here.
History view: Exploring recorded values in History view
Discover how to zoom in to your measurement data, export history and get more out from your measurement history following our guide here.
History view: Sync history from Ruuvi Sensor via Bluetooth (mobile)
All RuuviTag sensors have ability to store measurement data to their internal memory. These datapoints can then be synced to Ruuvi Station mobile app via Bluetooth. Read more about this mobile exclusive feature here.
History view: History length
You can view a certain period of time in Ruuvi Station mobile app and web app. This is different between mobile and web applications.
Learn more about history length here.
History view: Clear history view (mobile)
In some occasions you might want to clear your history view in Ruuvi Station mobile application. This only affects datapoints collected to the local Ruuvi Station iOS or Android app.
Check the details here.
History view: How to make CSV Excel Export and data interval
Exporting your measurement data to a file that can be opened in your favourite spreadsheet application can be handy when you want to share, consolidate and compare your measurement data.
Learn how to make a .csv-file export here.
Sensor Cards in Ruuvi Station
Ruuvi Station offers multiple different kinds of sensor cards within the application. These cards help you to visualise current sensor data and gives you access to real-time information regarding your environment.
See your real-time sensor data on Sensor Cards by using our instructions here.
Sensor card: Displayed information
Access a number of details regarding your sensor on any sensor card. These include current environmental conditions, triggered alerts and warnings related to your sensor and much more.
More details can be found here.
Widgets in Ruuvi Station (mobile)
You can add helpful widgets to your mobile home screen when using Ruuvi Gateway together with Ruuvi Station mobile app. This feature is available for Ruuvi Gateway users who have signed in to Ruuvi Cloud in their Ruuvi Station mobile app. Learn how to add a widget on your mobile device using our handy guide here.